Install and point a satellite dish
Tools
Wrench Drill Hammer Small chisel Compass Marker
Required parts
-
Satellite dish -
'L' shaped wall mount s -
4 stainless steel fixings -
4 hexagonal screws -
4 stainless steel fixings -
'F' connector X 2 -
Coaxial cable -
Digital TV receiver
1 Installing the wall mount
First of all, you have to find an appropriate location. Take into account these two requirements:
- The location must allow the correct orientation of the dish to the satellite. Use the compass.
- There can not be any obstacles between the dish and the satellite. You will learn where the satellite is in the following steps.
Take the "L" wall mount, and attach it to the wall manually. Mark the positions of the future holes on the wall.
Now, drill the four holes. Be careful choosing a appropiate diameter (see the number engraved on the fixing). The ideal depth for the holes is about 0,5 cm + wall plug length.
Put the four fixings in their holes, and use the hammer and the chisel to fix them.
Now take the "L" wall mount, and screw it to the fixings. Don't forget the washers.
(1) Washer / (2) Screw / (3) L mount / (4) Fixing
2 Installing the dish
The installation process will vary depending on the brand and model of the dish. Take a look at the instructions booklet.
Mount it all, including the LNB, and screw it on tightly, except the screws that are marked in red. You will need to turn and move the dish to orientiate it correctly.
3 Pointing the dish to a satellite
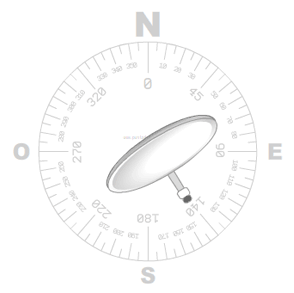
You will need to find out the azimut, elevation and LNB polarization/skew values.
Azimut
This is the dish position in respect to north. It is mesaured in degrees.


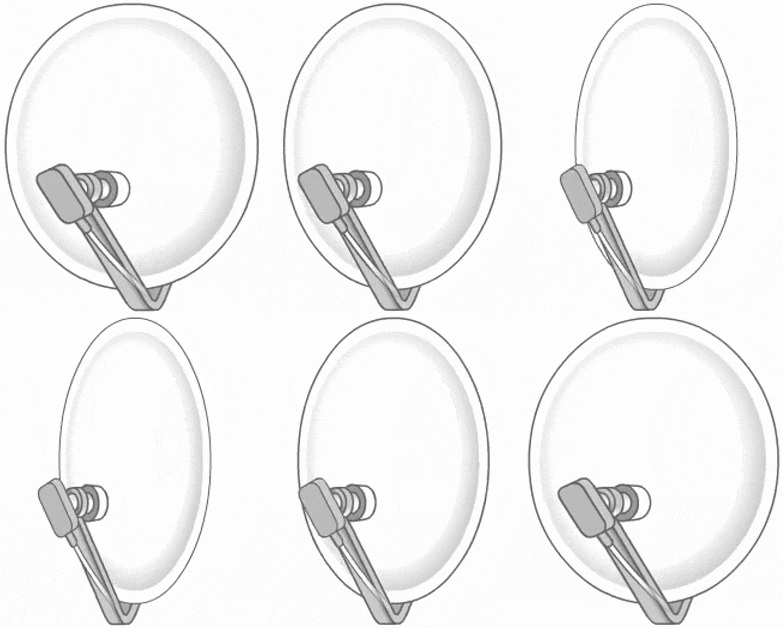
Elevation
This is the satellite signal beam inclination that reaches the dish. It is measured in degrees. To adjust it, you must have a look at the numbers on the rear side of the dish. Make sure that its signal covers your area.

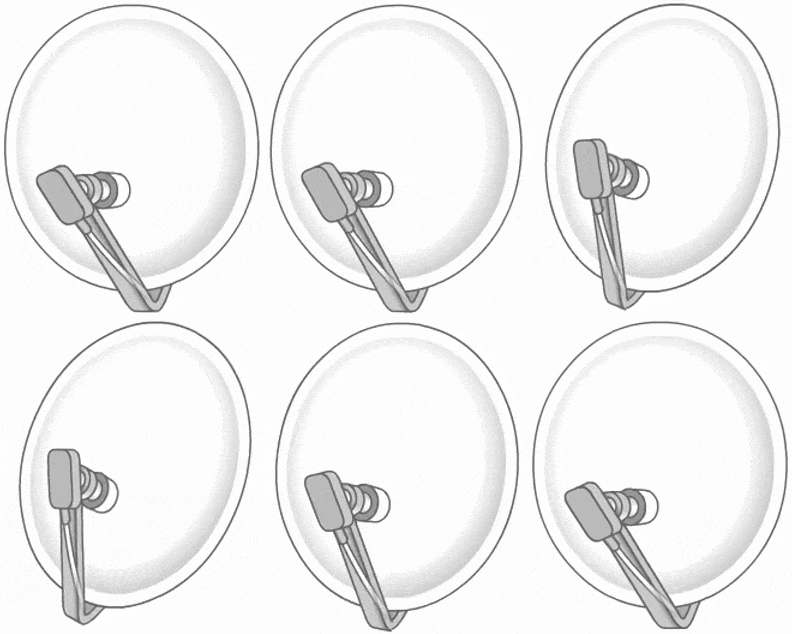
Polarisation / LNB Skew
The polarisation is the LNB rotation respect to ground. It is measured in degrees.

All this data depends on two factors::
- Your geographical location
- The position of the satellite you want to point to.
Use Dishpointer, to find out those values.
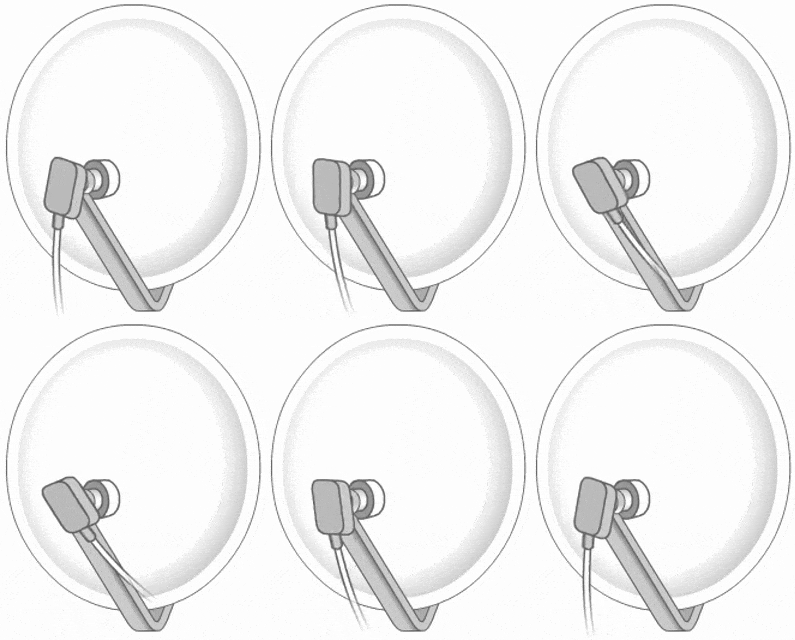
4 Wiring
Cut the cable insulation as described in the following figure:
Connect two "F" connectors, on both ends of the cable. Connect one end to the LNB of the dish and the other one to the receiver.
Now it is time for the fine-tuning. Turn on the digital satellite receiver, choose the name of the satelllite and look for the option that tells you the signal strength and quality. Then, move the dish slightly until you get the best signal quality and strength.